Tuesday, April 24, 2012

Ink Blending Tool Picture Tutorial

Since I am on a budget and cannot really afford to buy multiple ink blending tools at a cost of $4-$5 each and I don't like changing the foam pad for every color I use, I decided to make my own.  A while back I took all of my rubber stamps off their wooden blocks for space so I have a ton of wooden blocks of just about every size.  I went through and found the ones that I figured fit me perfectly and went to work.  I cannot take full credit for this idea as it came from luvleescrappin on youtube.  I did make some modifications so it would work bettter for me. 

I started out by picking all of the same size blocks.  For now I just made 8 for the colors, black, brown, blue, green, red, yellow, orange, and purple however I do plan on making more for additional colors in the near future. 

I took off the foam padding since it was partially damaged from taking off the rubber stamp.  I used a box knife (but you could use any kind of razor blade) to scrape off as much of the glue residue as possible. 

I then took a piece of sandpaper and sanded the sticky area to dry out the glue and took the box knife and scraped again.  Sometimes, depending on how stubborn the adhesive was, I had to go over a second time.  I'm sure it probably didn't matter but I preferred to have the block as clean as possible.

Once I was happy with the block, I went to measuring and cutting double-sided foam tape, velcro (the rough side only) and ink applicator foam blending pads from RangerInk.  I measured these to be a little smaller than the blocks to ensure they would fit nicely. 

I added the foam first and to ensure extra hold, I used a little Aleene's Clear Gel Tacky Glue in addition to the adhesive already on the double sided foam tape.  Once I adhered the foam tape, I set it aside to dry. 

Next I added the velcro to the foam tape and again used the Aleene's glue to added strength.  Again I set it aside to dry. 

Once everything was dry I added the ink applicator foam blending pads.  Now I don't have to change the pads for every color I use.  All in all it was a very simple project and I had all of the supplies needed right in my craft room.  I hope I have given you inspiration to try and make your ink blending tools. 

I also ended up making small (1"x1") blocks for quick applications of small projects like flowers, etc.  They are much easier for me to handle on a consistent basis.  To label them I used my Dymo label maker and inked each label with the color of the tool.  They color did not turn out to be a perfect match because the label tape is plastic.  I may have to redo this part with paper labels.  I will update and let you know if I decide to do it.

Sunday, April 22, 2012

Formula 1

For those of you who don't know me very well, besides my Copic addiction I have another addiction.......Formula 1! I I love the excitement of racing and my favorite is Sebastian Vettel of Red Bull. He was the champion thenlast 2 years and I am hoping he will win again this year! He is on pole today in Bahrain! Go Seb!!!!!!

Tuesday, April 17, 2012

Copic Certified Designer

On Friday and Saturday I attended both the standard and intermediate Copic Certification classes and am proud to say I am now a Certified Designer!

Sylvia Zet Wee Stamp Amy

This beautiful little girl is a digital image from Sylvia Zet called Amy.  I just love these stamps...sooo sweet and innocent looking.  Amy was colored with Copic Markers.
Copic coloring; Sylvia Zet; Wee Stamps; Wee Digital Stamp Amy
Hair/Boots  E40,41,42,43,44
Skin  E0000,000,11,21, R21
Clothes/Flowers  B91,93,000; RV99,95,93,91,V000
Ground/Fur on vest W3,1,0,00

I will update this post with a picture when I get her on a card!

Monday, April 16, 2012

Mo Manning Make a Wish

Mo Manning Digital Stamp; Copic Coloring; Make a Wish stamp

Tiddly Inks Digital Stamp Close to my Heart

Tiddly Inks Digital Stamp; Copic Coloring; Tiddly Inks Close to My Heart
Tiddly Inks stamp Wryn - Close to My Heart

C.C. Designs Cupcake Birgitta

C.C. Designs; Digi Stamp; Copic Coloring; Cupcake Birgitta
C.C. Designs - Cupcake Birgitta

LaLa Land Super Cupcake Marci & Autumn Marci

La La Land Cupcake Marci; Copic Coloring; Digi Stamp
Super Cupcake Marci

LaLa Land Digital Stamp; Copic Coloring; Autumn Marci

Autumn Marci was colored with Copics. 
Hair E23,25,27,29
Skin E11,00,000
Clothes YR24,21,20; YG93,95,97; E07,13,15,17

Elisabeth Bell Copic Colored Images


Elisabeth Bell I Love You This Much; Copic Coloring
I Love You This Much

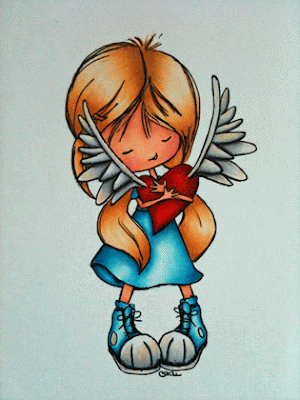
Elisabeth Bell Digital Stamp; Copic Coloring; Rachel Little Angel
 Rachel Little Angel

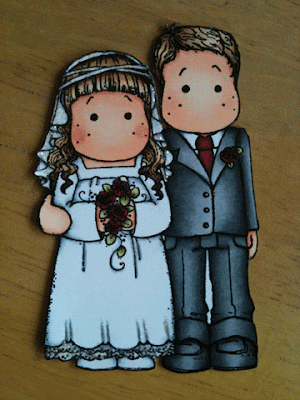
Magnolia Stamps Colored with Copics


Magnolia Stamps Wedding; Copic Coloring

Magnolia Stamps; Copic Coloring

Magnolia Stamps; Copic Coloring

Magnolia Stamps; Copic Coloring

Magnolia Stamps; Copic Coloring

Teddy Bo Digital Stamps Colored with Copics

TeddyBea; Copic Markers

Swinging Bea
Colored with Copics but did not write down the colors.


TeddyBoBea; Copic Markers
Bo and Bea on Bench
Colored with Copics but I did not write down the colors.

Teddy Bo; Copic Markers
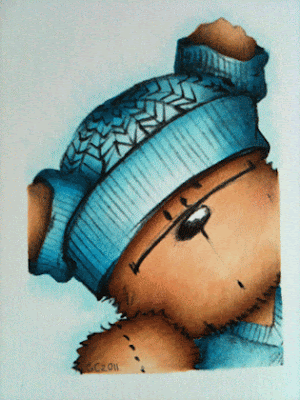
This digital image is from Teddy Bo and is part of the TeddyBoBea Tabs 002 set.  I cropped it in Photoshop so I could have just this image to color.  He was colored with Copics. 
Bear  E23,33,34,31,30
Clothes B04,02,00,0000 N1,3

Teddy Bo; Copics; Teddy Bea
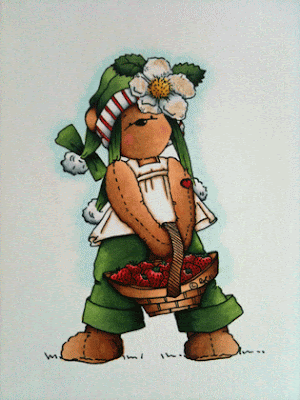
Strawberry Bea
Colored with Copics

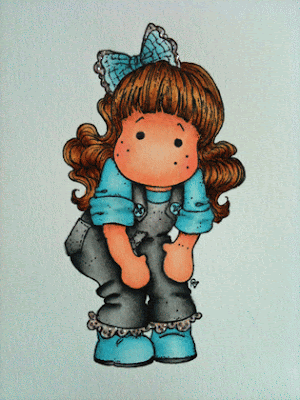
Saturated Canary Stroppy Beth Colored with Copics

Saturated Canary Strompy Beth; Copic Coloring
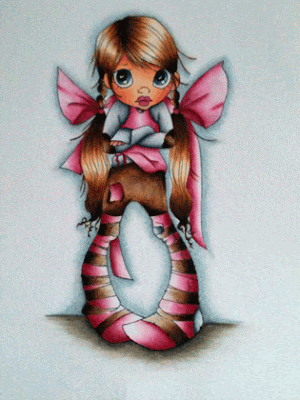
Saturated Canary - Stroppy Beth was colored with Copics.
Hair  E50,53,57 with a touch of E49
Skin  E0000,000,00,11,13, R20
Eyes B21
Shirt C5,3,1,0,00
Browns E40,41,42,44,47
Pinks R85,83,81, RV0000
Ground W00,0,1,3,5
Shadow - Prismacolor pencil Slate Grey

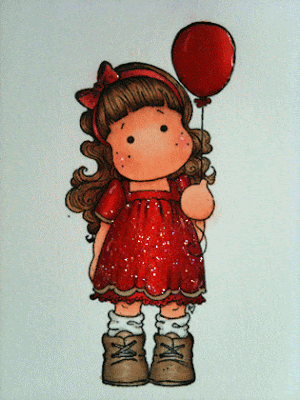
Saturated Canary; Copic Coloring
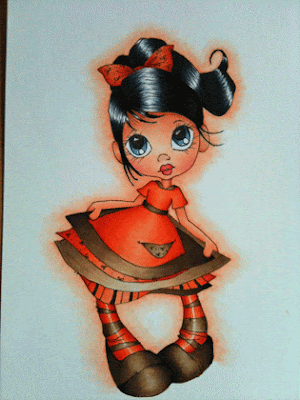
Saturated Canary - Thank You (not sure of her name as she was free from Krista Smith).  She was colored with Copics.
Hair  C9,7,5,3,1,0
Skin  E000,00,11, R20
Dress (oranges -YR09,07,02,01; browns E49,47,44,43,42,41,40)
Background  YR00,000,0000


As Requested

I was asked several times at the Copic Certification classes this weekend to please get my blog up and running and to post some of my colorings even if I have not made them into cards yet, so without further adieu.....I will post them by designer to try and make this a little easier!  Would love your feedback or suggestions!